
How to Make Gingerbread Men Cookies
Step by Step, with Photos!
Click here for a PDF print version of the instructions
 Home-made
gingerbread men are fun and easy to make! The whole house will smell great
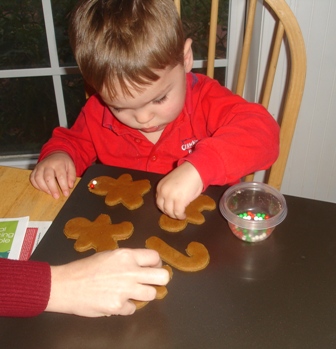
and the kids will love decorating them. It's so easy, my 2 year old had no
trouble decorating and sat quietly putting the eyes on the gingerbread men (note
the before and after photos... some of the gingerbread men became mutants with
many, many eyes, but he had fun!
Making gingerbread men is especially easy with these step-by-step instructions,
complete with
photographs to illustrate each step. You can make the Gingerbread men
simple, like the one in Shrek.. and eat them.  Or you can get
 elaborate
with the icing decoration, M&M's, raisons, chocolate chips, sprinkles, gum drops
and more... and still eat them!
Ingredients and Supplies
Step 1 - Gather the Ingredients and Supplies
- Gingerbread dough
- 12 fl oz or 350 ml (usually, that's 1 bottle) of unsulphured molasses (in the UK, this is called treacle)1 and 1/2 cups
- 350 g of butter or margarine (or 1 and 1/2 cup (3 sticks)
- 1200 g or 8 cups all-purpose flour
- 2 tablespoons double-acting baking powder
- 1/2 teaspoon salt
- 1 teaspoon baking soda (also called bicarbonate of soda)
- 4 teaspoons ground ginger
- 4 teaspoons ground cinnamon
- 1 tablespoon allspice
- 1 and 1/2 cups brown sugar (dark or light)
- 2 large eggs
- Icing
- 4 egg whites
- 1 teaspoon cream of tartar
- 400 g or 4 cups of icing sugar
- Cookie sheets
- Cookie cutters
- Aluminum foil or better yet, silicon baking mats
- Heavy duty mixer (optional - you can mix by hand)
- Rolling pin, I like the non-stick silicon type
- Cake knives
- Spatula
- Cooling racks
- Pastry bags and tips (OR a gallon sized Ziploc plastic bag (quart sized will do, also) ) OR icing in the spray cans
- Candies: M&M's, gumdrops, lifesavers, chocolate chips, colored sprinkles, etc.
Making the dough
Step 2 - Turn the oven on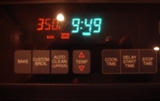
Now's a good time to get your oven pre-heating to 180 C Gas Mark 4 ( or 350 F)
Step 3 - Melt the butter
Melt the butter in the microwave or stovetop until just barely melted.
You might also warm the molasses so it pours and mixes more easily (remember the expression "slow as molasses?). You can heat it in the microwave (with the lid removed) for 45 seconds, or let it sit in a pot of very warm, almost hot, water for 30 minutes.
Step 4 - Mix the butter and molasses
Pour the melted butter and molasses into your mixing bowl (a large one!)
Step 5 - Add the eggs and brown sugar
Now add the eggs, and next the brown sugar!
Note how I switched from a whisk to a heavy beater on the mixer.

Step 6 - Mix the dry ingredients
In another large bowl mix the
- 1200 g or 8 cups all-purpose flour
- 2 teaspoon double-acting baking powder
- 1/2 teaspoon salt
- 1 teaspoon baking soda
- 4 teaspoons ground ginger
- 4 teaspoons ground cinnamon
- 1 tablespoon allspice
Step 7 - Add the flour to the wet ingredients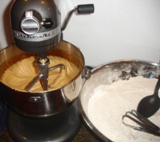
If you have a mixer with a dough hook, it is time to put that on. Otherwise, you'll need to (knead to) do this by hand!
Done mixing
Back into the bowl and knead it into a smooth ball.
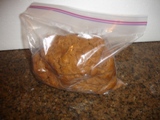 Step
8 - Chill!
The dough, that is. No time for you to relax, yet. Put the dough in a ziploc or other container and refrigerate at least 30 minutes. Most directions say that you can even leave it till the next day, and I'm sure you can, but that's not necessary.
Step 9 - Roll out some dough
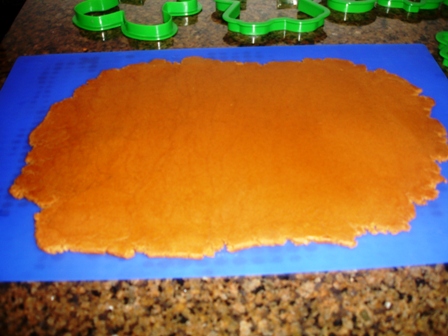
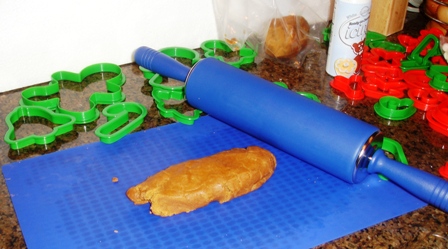 On a silicon baking mat, waxed paper or a floured surface, roll out a small amount of the dough
(about the size of a tennis ball) until it is about
1/4 inch thick. Don't get carried away trying to measure it, gingerbread is
pretty tough stuff, so it can be as thin as 1/8 in some places or as thick as 1/2 inch, but 1/4 inch (1/2 cm for those of you in other countries) is ideal. If
you don't have a silicon baking mat, you can roll the dough out on aluminum
foil.
Step 10 - Fire up your cookie cutter!
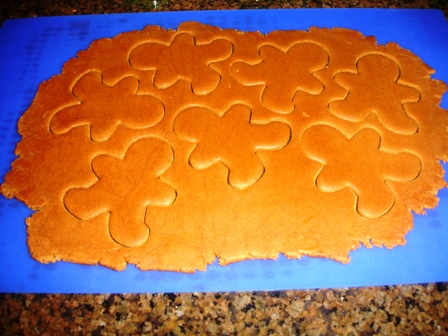
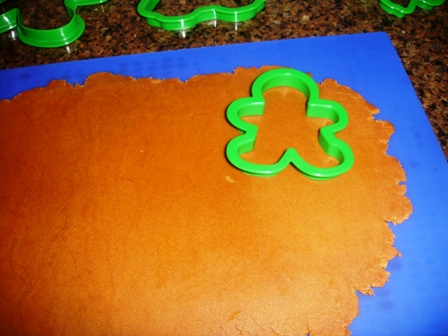 Have
fun with your cookie cutter, gently pressing down till it touches the mat
underneath.
Just place one of the paper pattern pieces on the dough and using a dull knife (like a table knife) cut around the edges.
Step 11 - Separate the cut-outs from the trim dough
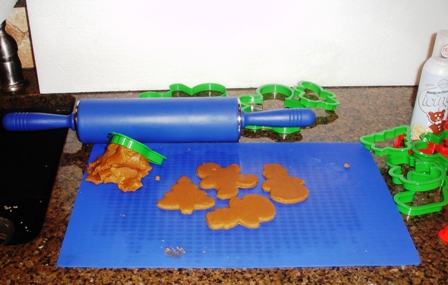 You
can gently peel away the excess dough between the cookies. If you cut them
on a baking mat, you can lift the entire mat onto a cookie sheet to put in the
oven. Otherwise, you will need to gently lift and move them.
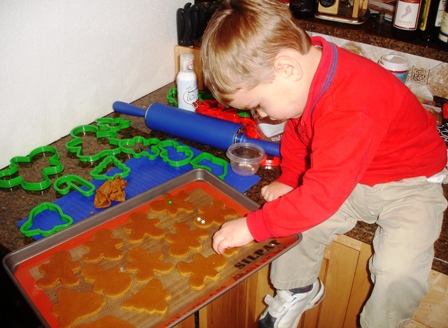 Step
12 - Decorate with some hard candies.
If you want to put sugar bead eyes or buttons in now, you can press them into the dough. They may melt some, and you can always put them in afterwards, while the cookies are still warm and soft, or even "glue" them on with icing. You can also etch designs into the uncooked dough with a table knife; such as a smile, clothes, etc.
Step 13 - Pop them into the oven
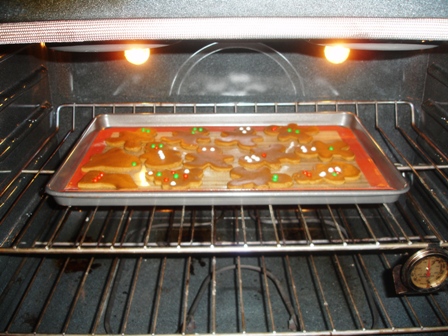 Now
pop the tray into the oven and let it cook for 12 to 15 minutes, until it puffs
up a little bit and just starts to become golden and slightly firm. While
one tray is bali
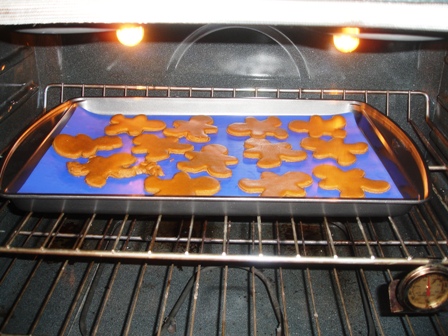 ng, you can cut out the next
tray.
Then remove the cooked batch and let cool!
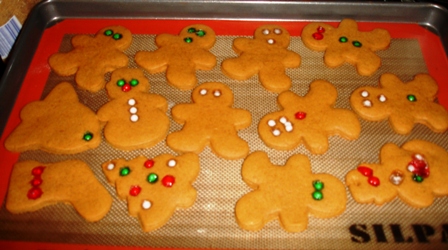
Another tip about the cooked dough. It's easy to trim it when it is fresh from the oven, still warm and soft, so you can trim some defects then.
Making the Icing
The icing is your glue, as well as decoration!Ingredients:
- 2 egg whites - If you use pasteurized eggs whites, like those in the carton at right, then the icing will be safe to eat (otherwise, the uncooked eggs may contain salmonella!)
- 1/4 teaspoon cream of tartar
- 200 g or 2 cups of confectioner's sugar (also called icing sugar or powdered
sugar)
Step 14 - Beat the egg whites
In a large bowl
(I like standing electric mixer, like a KitchenAid) beat the egg whites until they begin to foam. Add the cream of
tartar and beat until the whites are stiff but not dry.
Step 15 - Add the powdered sugar
Gradually beat in the
icing sugar, beating for about 5 minutes until it reaches spreading consistency.
Keep it covered and refrigerated until needed.
Step 16 - Fill your icing bag
If you have a pastry bag, use that, but it's easy to take a
large (1 gallon)
ziploc bag. Fill the bag, and pop it into the fridge. When you are ready
to use it, just cut off 1/4 inch of a corner and you have an instant pastry bag!
Step 17 - Decorating the cookies
Ingredients and supplies:
- Icing, white and colored
- Gum drops,
- M&M's
- Life savers
- Chocolate chips
- Other hard candies
- Colored "sprinkles" or "jimmies"
- Colored icings (comes in cans now!)
Go
wild! Icing can be use for anything To apply candy decorations, dab a small amount of icing to the
underside of the candy and hold in place until set.

You can use dough scraps to roll out added decorative cut-outs, like a
hat or scarf, to be
applied with icing glue. These cutouts can be impressed with designs
before baking. They can be "painted"
with colored icing.
Write me to let me know how your cookies turned out and any tips you want to share. I hope you and the kids have fun! It should be a memorable experience!
Preserving your Gingerbread Men Cookies
Yep, you can actually spray them with Shellac or lacquer (available from paint stores, Home Depot, Lowes and Wal-Mart) and they should last for years. Just be sure to let it dry completely first. Of course, they'd no longer be edible!
Feedback, Comments and Tips
- Comments from a visitor on January 08, 2011: "Thanks for your site and all the information that is on it. I used your salsa recipe loved loved it, I have been making salsa for years needed a change thanks so much. At Christmas used the gingerbread cookies and sugar cookie recipes I have been using my grandmothers for many years, I am 70 I needed a change they were very very good. My one and only grandson and I make gingerbread cookies since he was 3 yrs old he is now 21 yrs old if we don't make them he says it isn't Christmas, the only thing I did with the gingerbread was to add 1 teaspoon of black pepper, something my German grandmother did. Thanks again for the great site I read it all the time. Jeanette Christy"